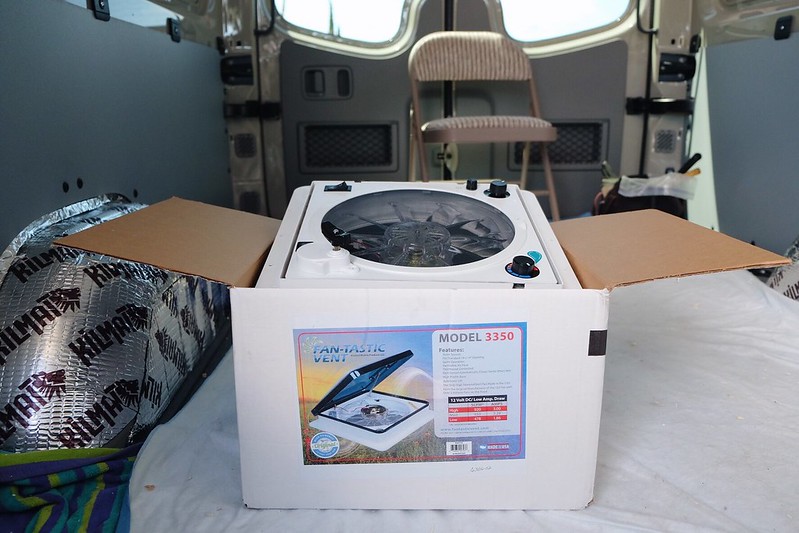
Guess what we did today? We cut a hole in our new van… on purpose. Haha. Yup. Today is the day we installed our Fan-Tastic Vent Fan. Our friends at Dometic sent us one of these months ago for the FWC camper but we never got a chance to install it so it’s going into our Sprinter now.
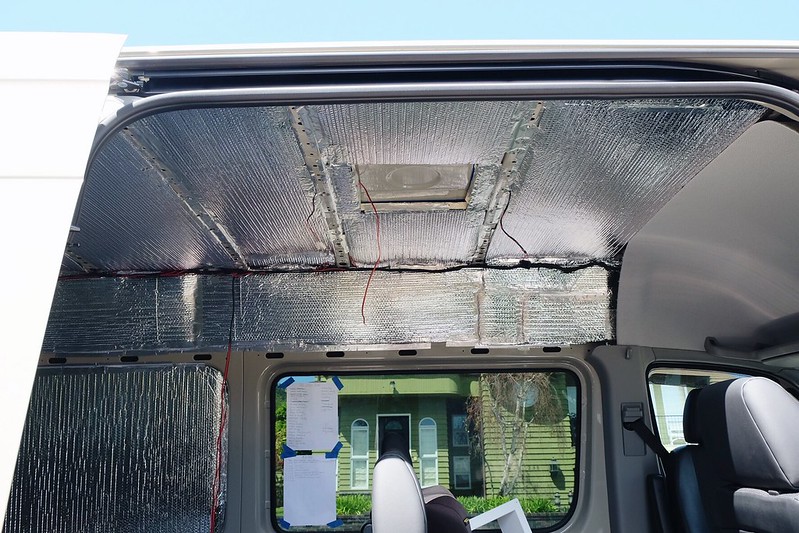
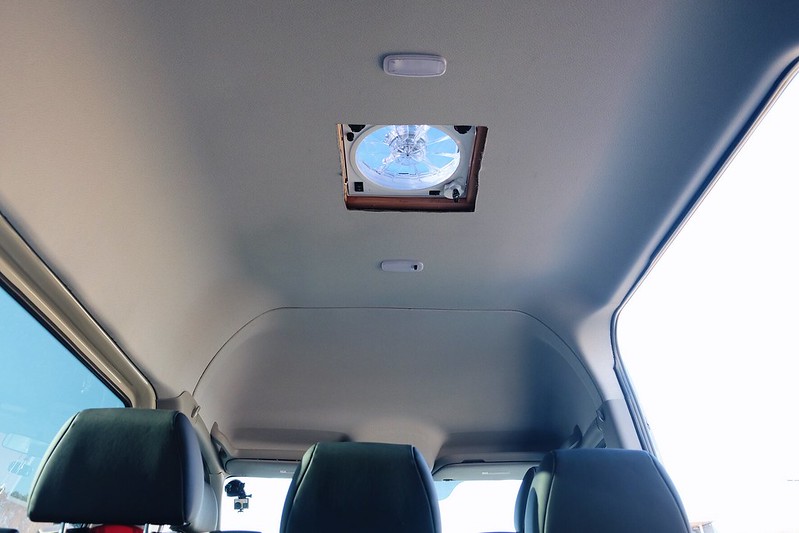
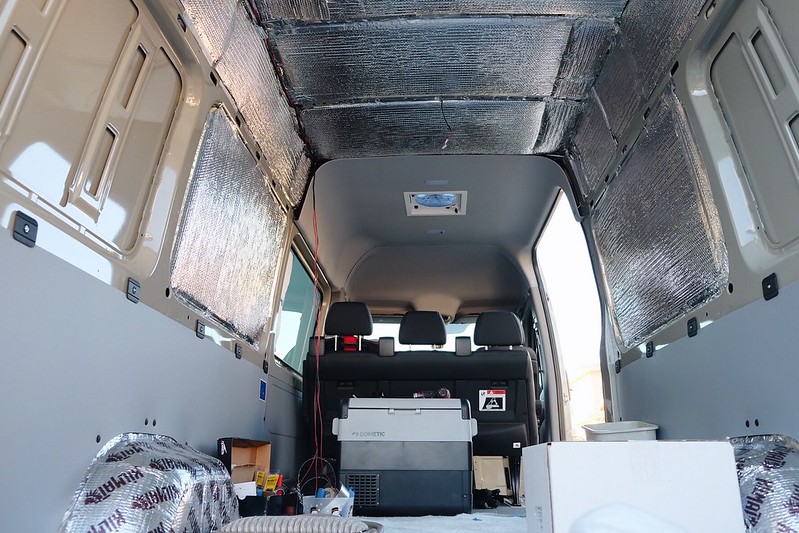
We decided to place this one near the front of the van. That way we could slowly start re-installing the headliner, from the cab to the back of the van.
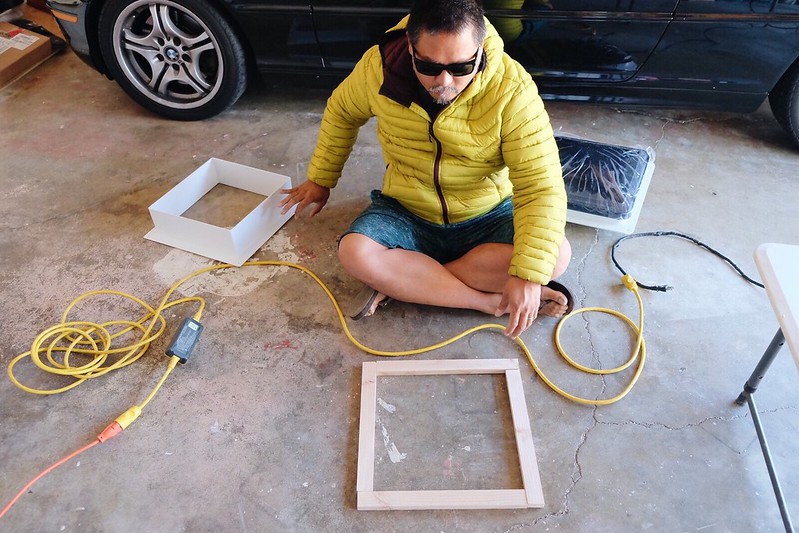
The first thing we did was to build a wooden spacer that will frame the inside of of the vent hole.
TADA!
Once we shoved it in place, we realized that the wood we used was too thin and cheap… so off to Home Depot we go to buy a larger 1.5″x1.5″ of better quality wood.
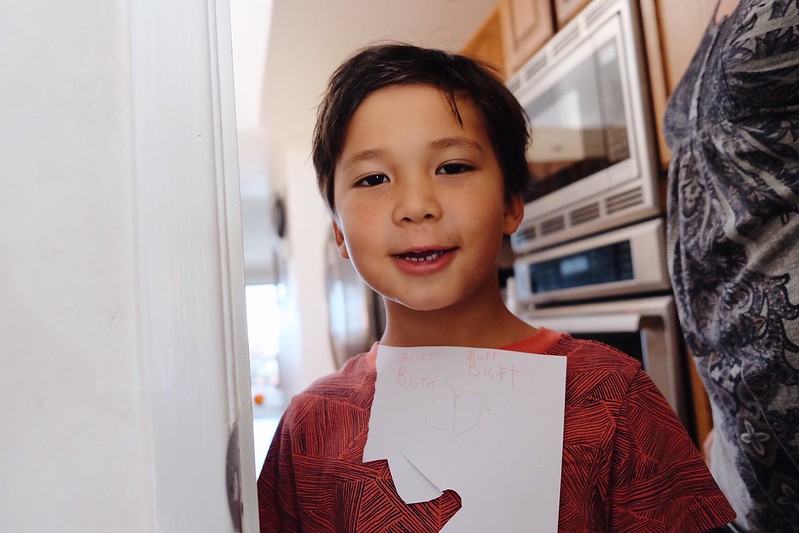
Oh wait. Luka is here. His letter of the day was “B” and I asked him to pick any word that starts with B and draw a picture. So naturally, he drew a butt. Still counts in my book.
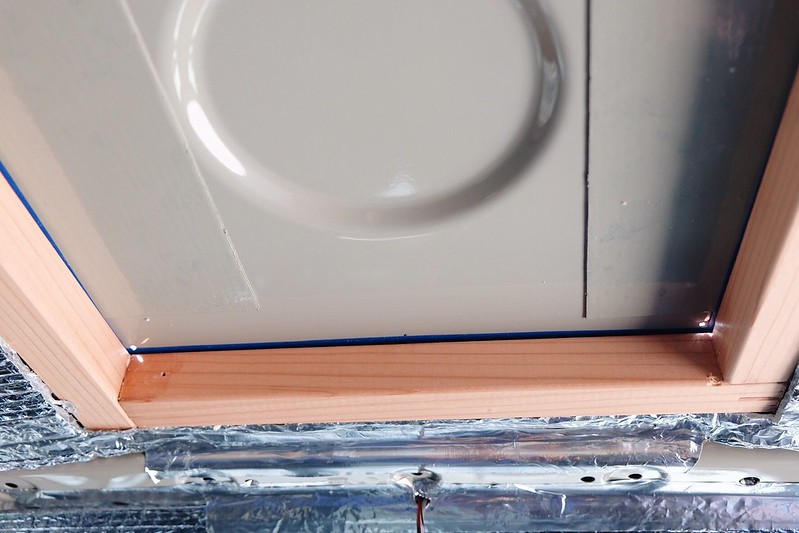
Ok back from Home Depot (and In-n-Out) and the new piece of wood fits much better.
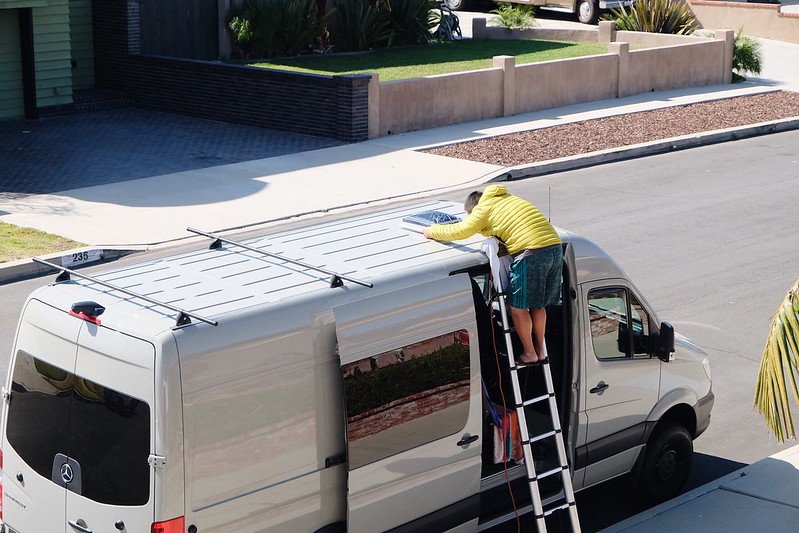
And then just like that, Dan drilled four little holes from the inside of the van to show him where to cut when he’s on the roof.
See them?
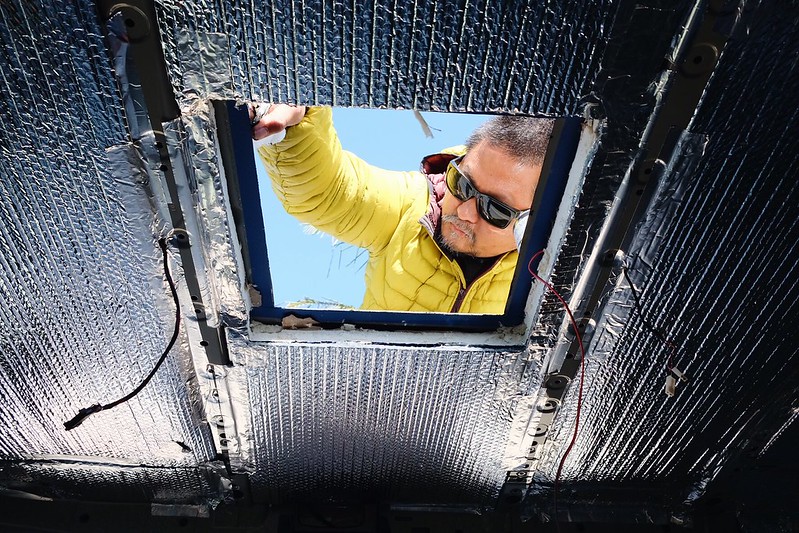
And then he made a little bigger hole so his jigsaw blade would have room to start.
Before he started with the jigsaw, we taped a garbage bag to the ceiling to prevent metal shavings from falling all over everything.
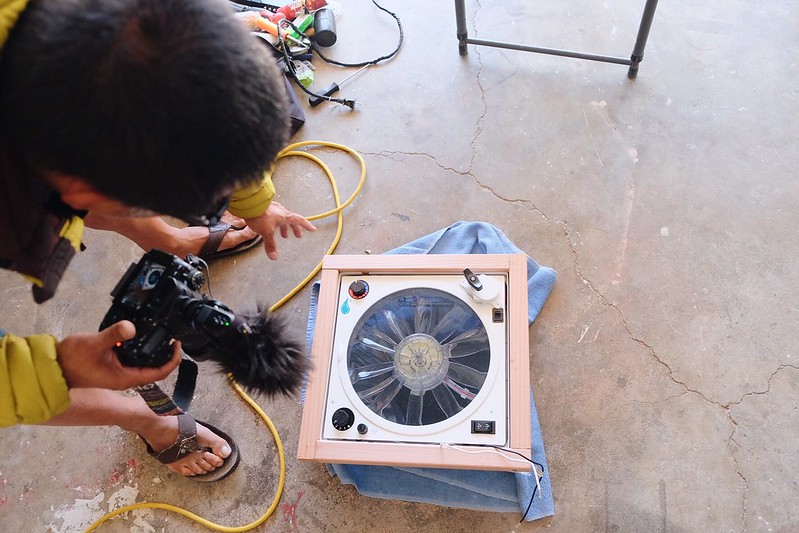
Test fitting the fan.
Looking good. Can’t wait to use it.
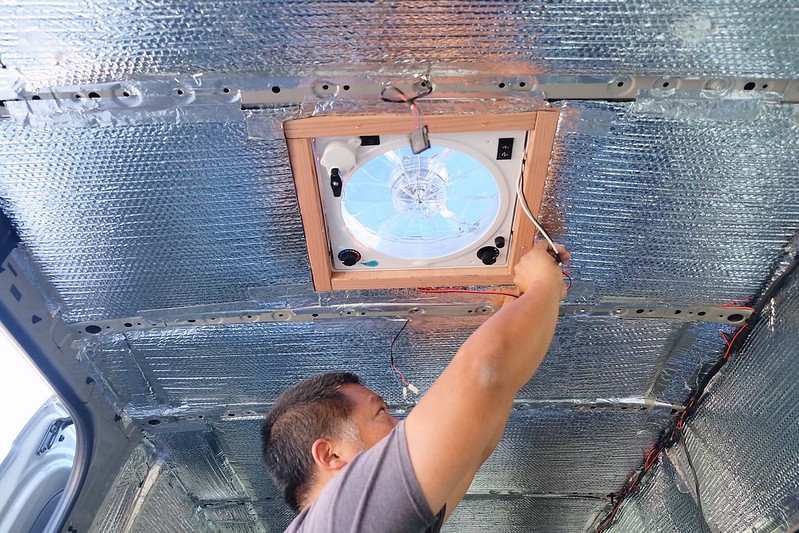
Before we secured the fan in place with layers of butyl tape, we used enamel paint to protect the metal from future rust.
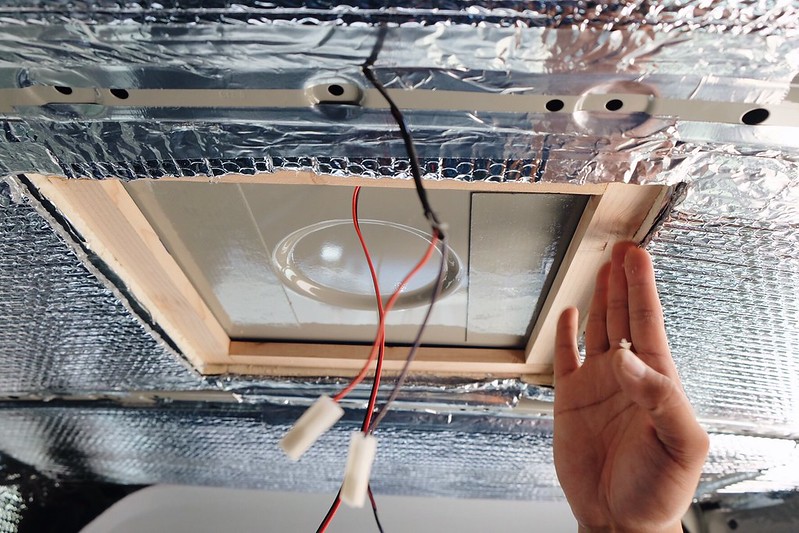
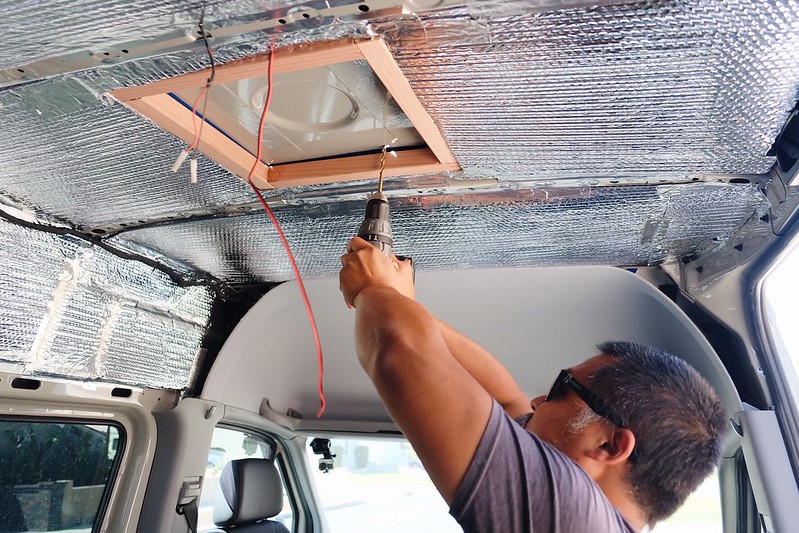
We then re-installed the headliner in that section without securing it with the trim clips, traced the vent hole, removed the headliner again and cut a hole using a jigsaw.

Before re-installing the newly cut headliner, we connected the fan wires to the pre-wire and quickly jury rigged it to our batteries to make sure it worked before sealing it up.
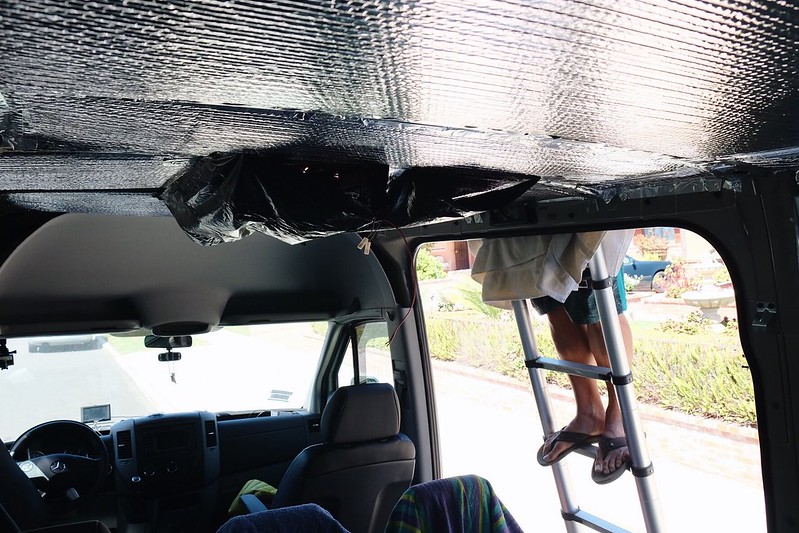
Putting the headliner back in is no easy feat, my friends.
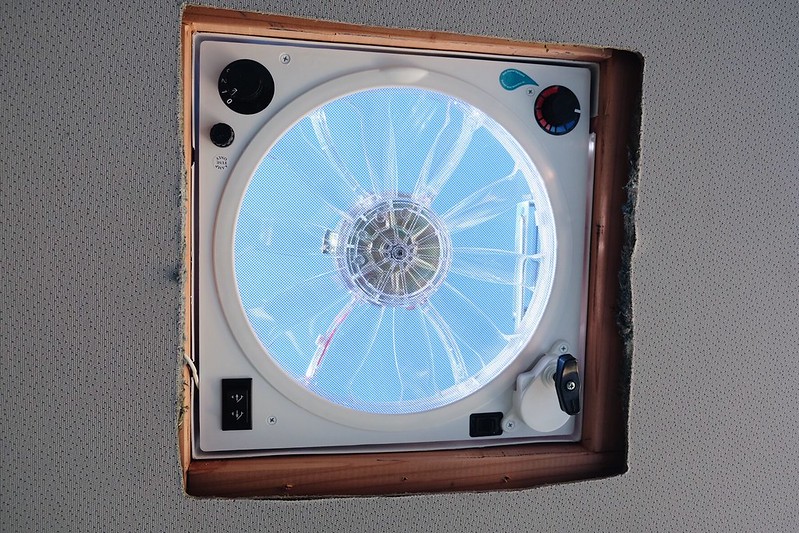
But with minimal cursing, we got it back in. Woohoo!
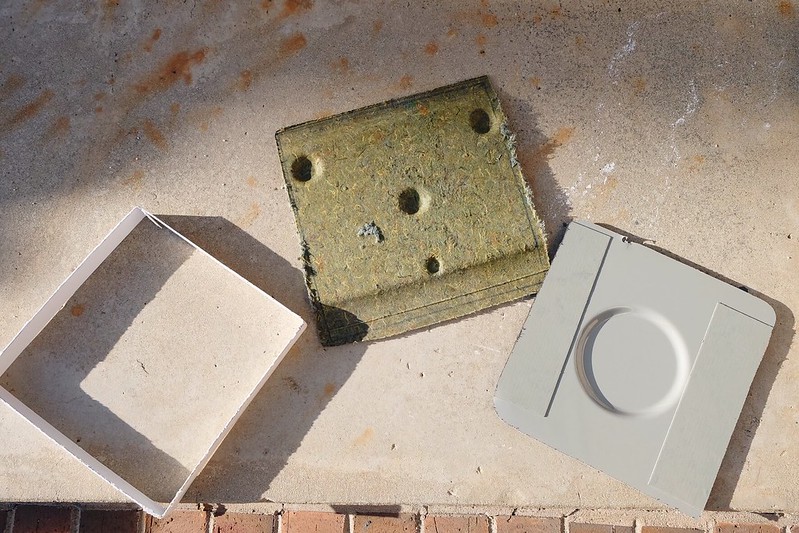
This first fan took us an entire day. From left to to right: fan trim scrap, headliner scrap and metal roof scrap.
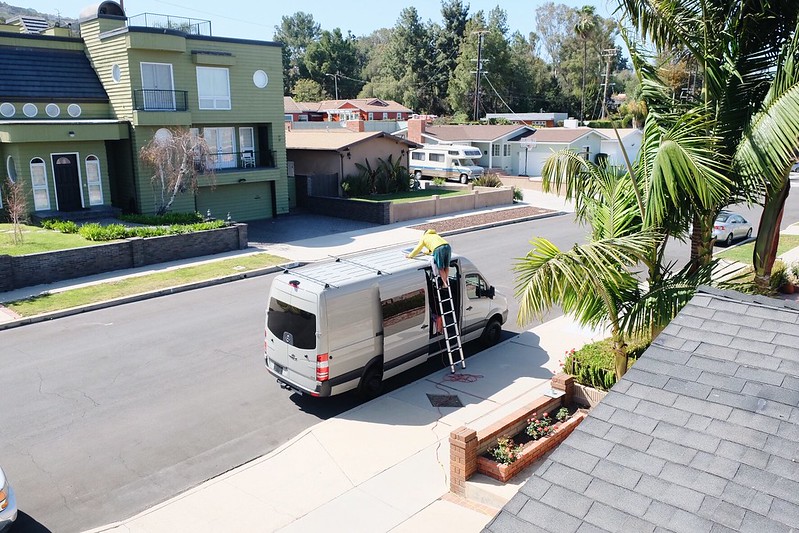
Oh wait, one piece of weather stripping is not right. Dan is on it. He might have cursed bit more this time.

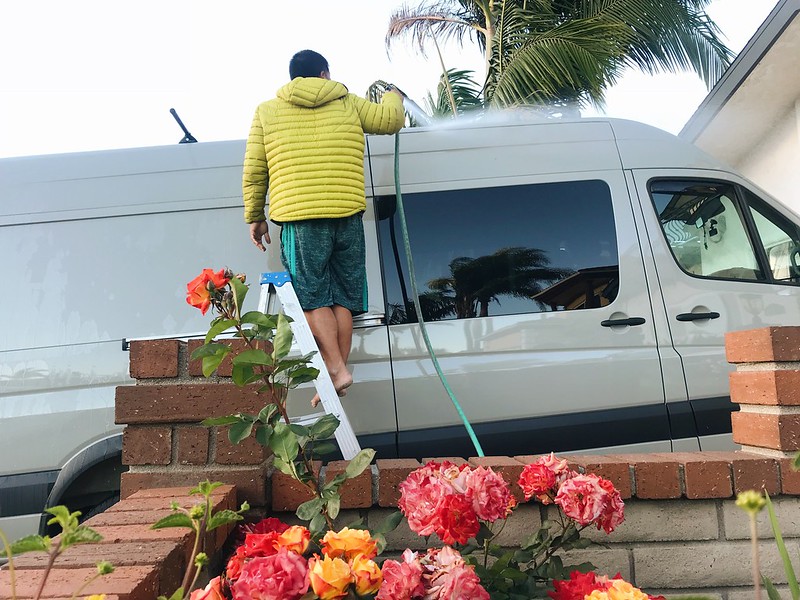
We made sure not to forget to wash the metal shavings off of the roof. We watched one YouTuber forget this step and it caused lots of rust damage on the roof.
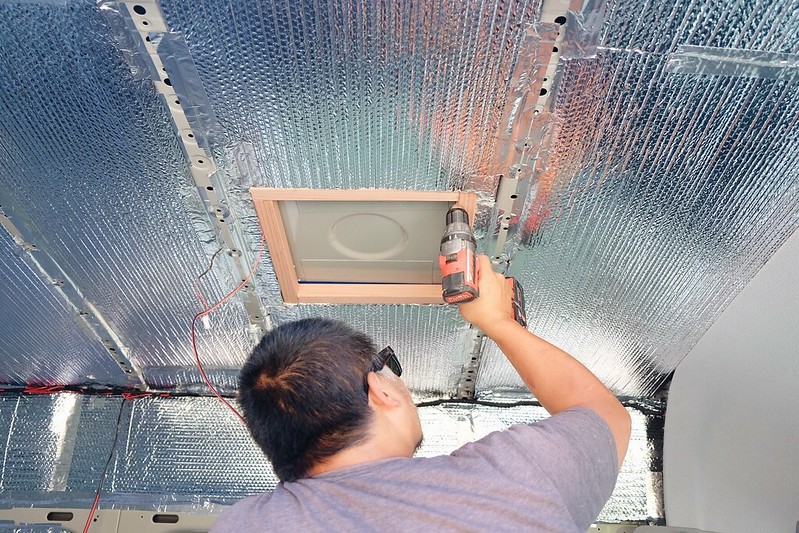
Ok, now we are done with the vent install. A layer of lap sealant will be put on the fan outside tomorrow once the roof is dry.
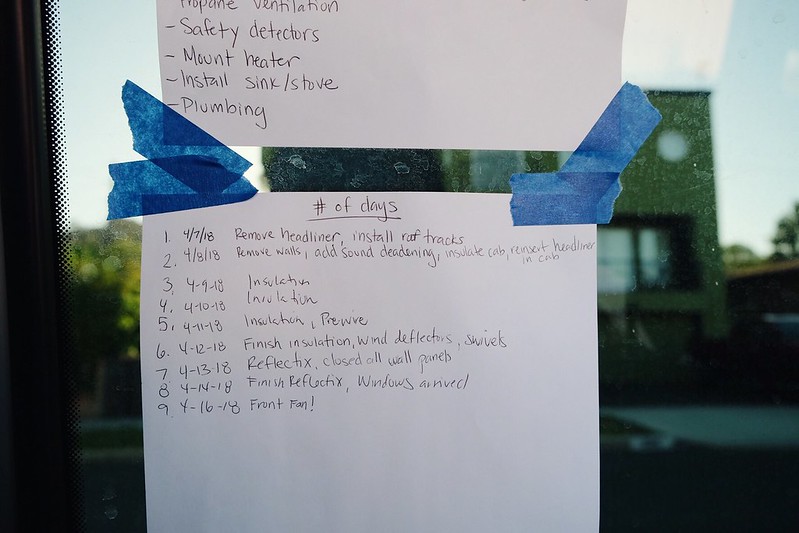
That’s all for day 9.
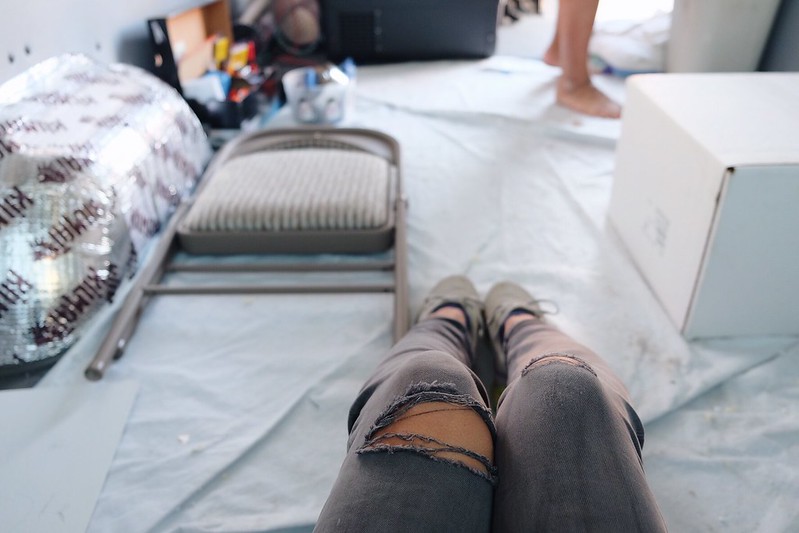
Well except for ripping my jeans at the knees. I will wait to buy a new pair once this entire project is done. A teat for working our butts off.
Here’s the video to go along with the day 9 build. Enjoy!
As always, thanks for following along,
Marlene
P.S. Don’t forget to also follow us on Instagram and for extra content, we are also on Patreon 🙂


2 Comments
Marc Monreal · April 18, 2018 at 7:57 am
Fan looks Great you guys. Let me know when you get the new windows installed, Id like to come look at them as Im considering those as well.
marc
marlene · April 19, 2018 at 9:50 am
We will probably start on windows on Friday. Come over!