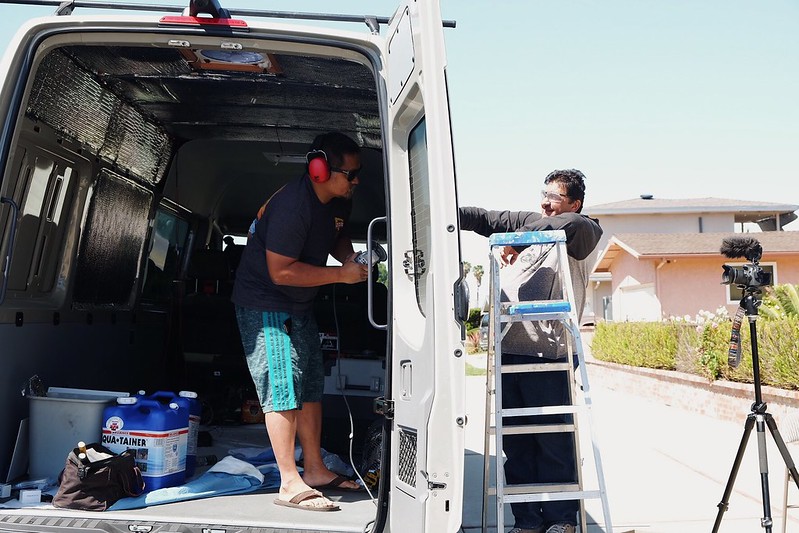
Today we are not only cutting one hole but two. One for the 2nd roof van and one for our first window.
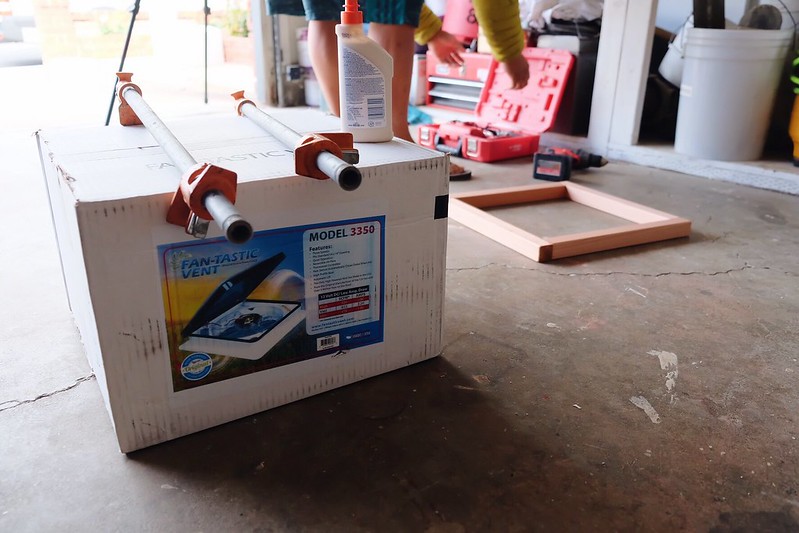
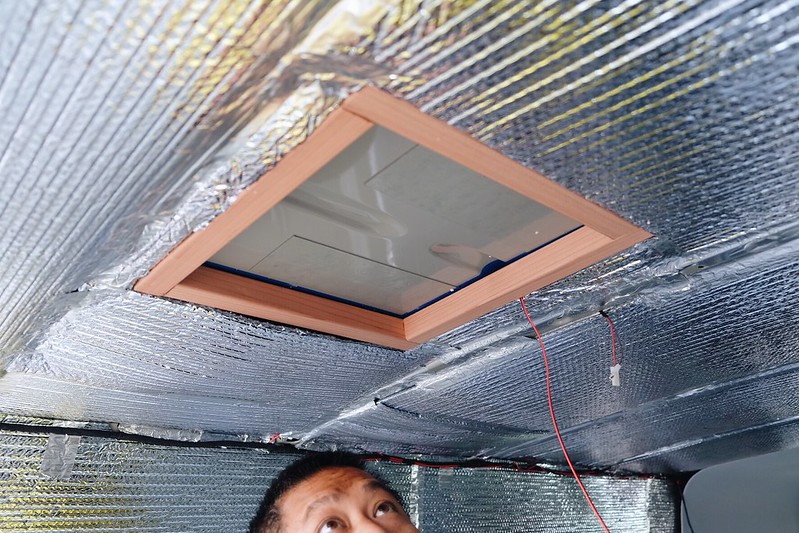
The second Fan-tastic Fan, that was also given to us by our friends at Dometic, will be installed near the back of the van right above where the kids will sleep.
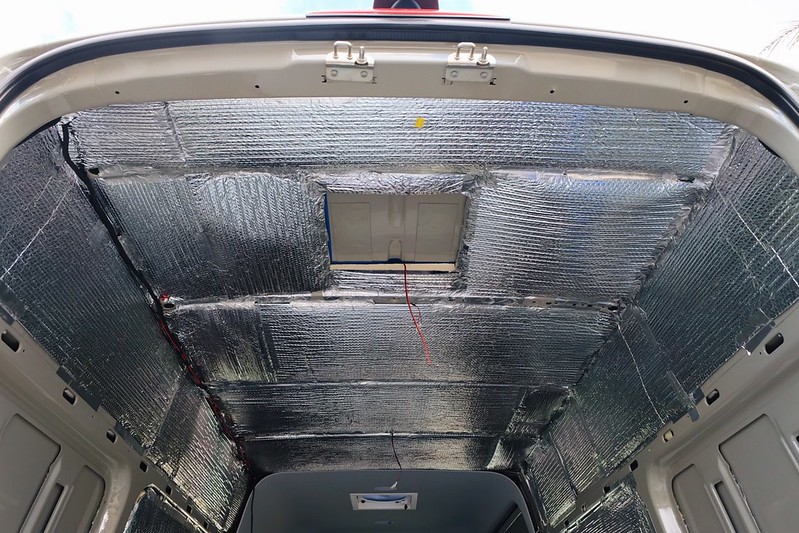
Everything is going faster with this second fan install. Yesterday it took an entire day to work out the kinks for the first fan. But today it took us about two hours total. Score.
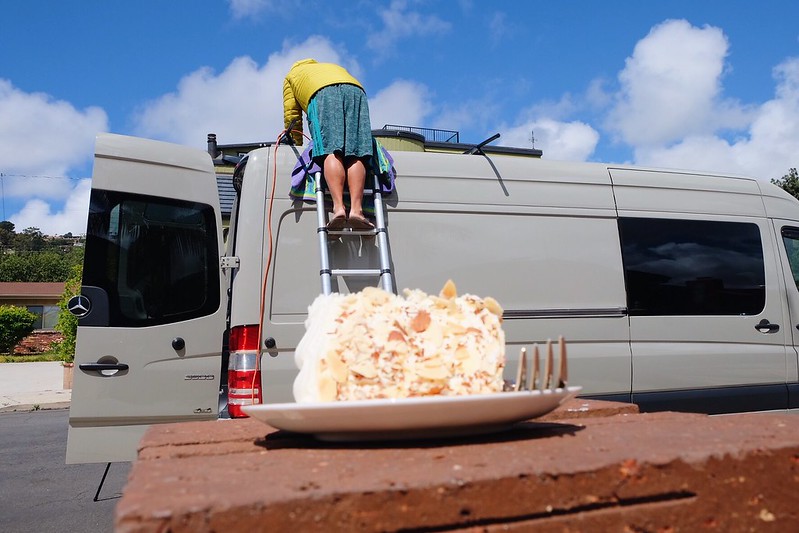
I even had time to eat leftover birthday cake. Sorry, Dan. None for you.
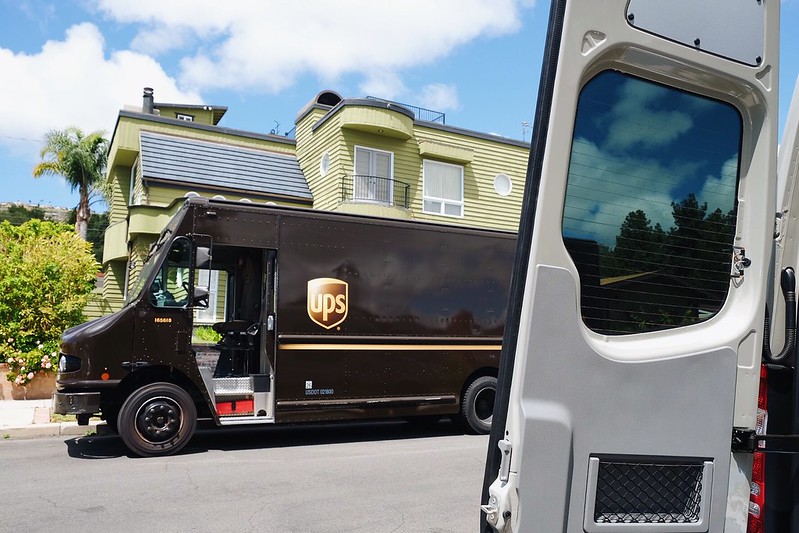
Always waiting on deliveries over here. The UPS and FedEx guys are our friends. Haha.
We went to the Mercedes dealership to buy replacement trim clips for the ones we broke when removing the headliner but at $2 each, we decided to pass. Found these ones on Amazon.
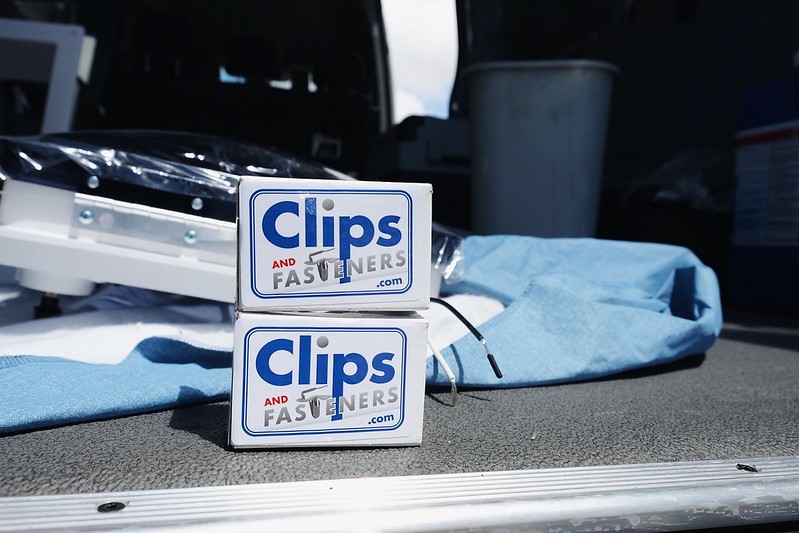
They are a teeny bit shorter than the factory ones but *should* work.
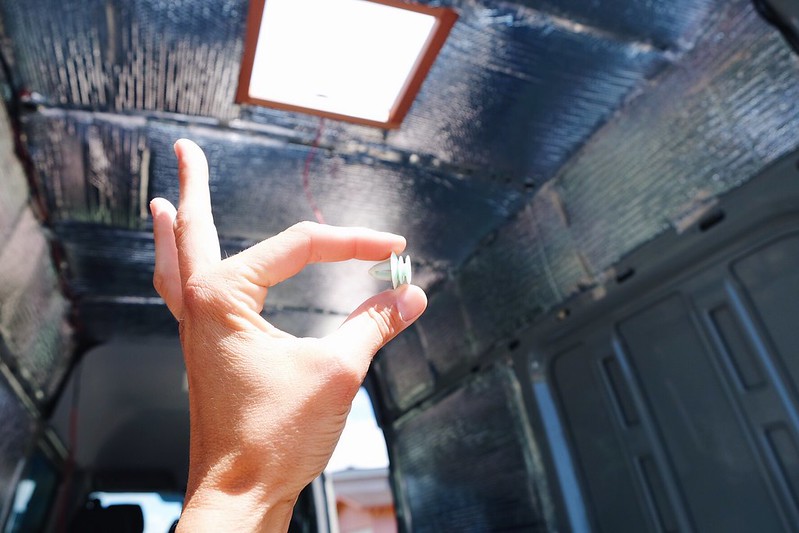
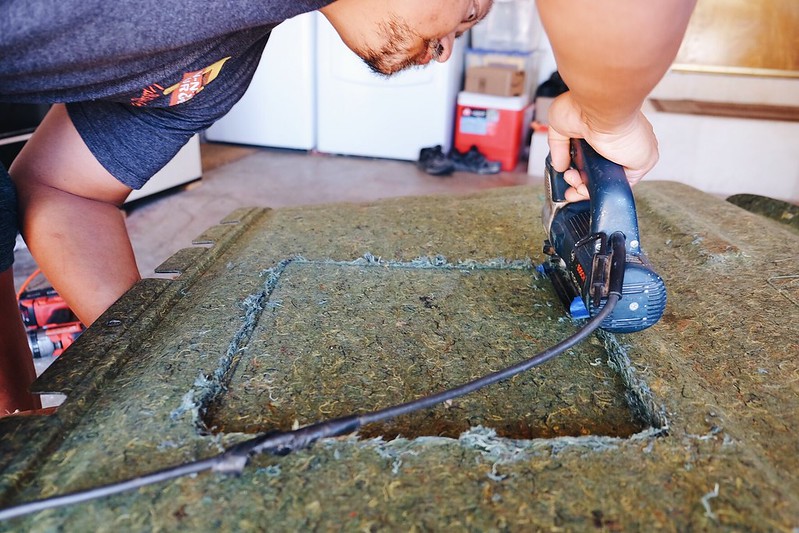
We had to use a jigsaw to cut through the thick headliner. It’s all cut now and ready for reinstall once we finish running the solar pre-wire.
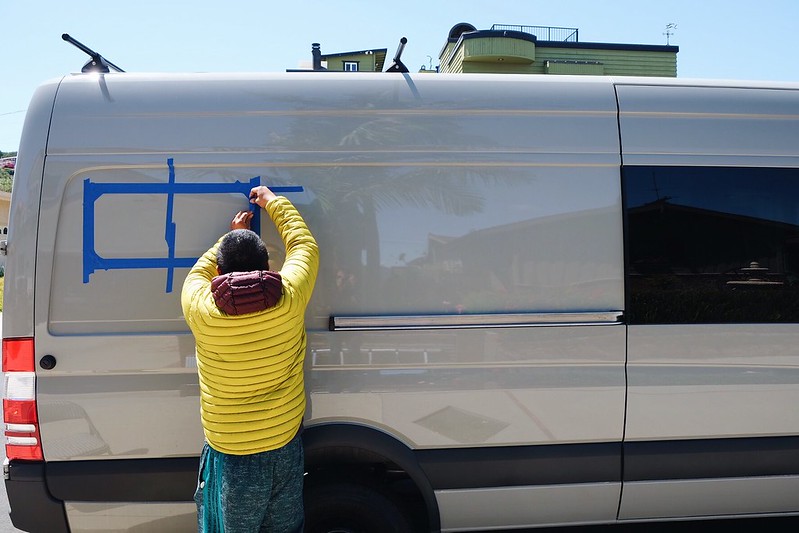
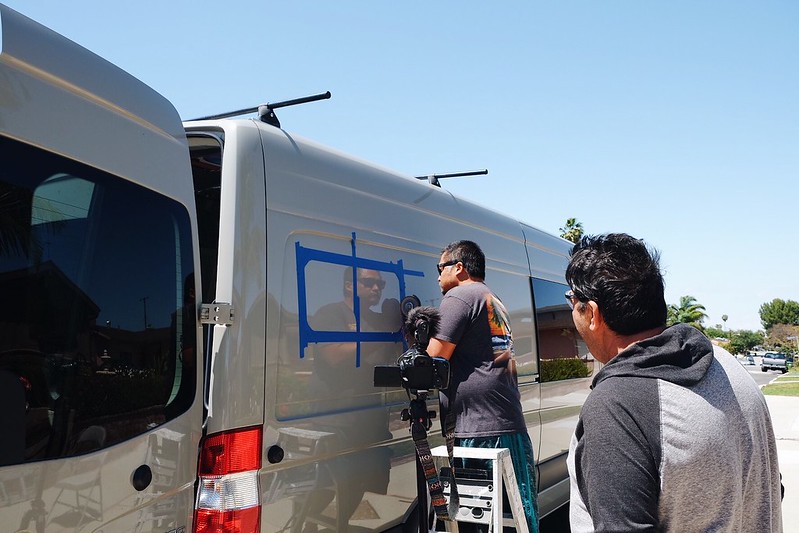
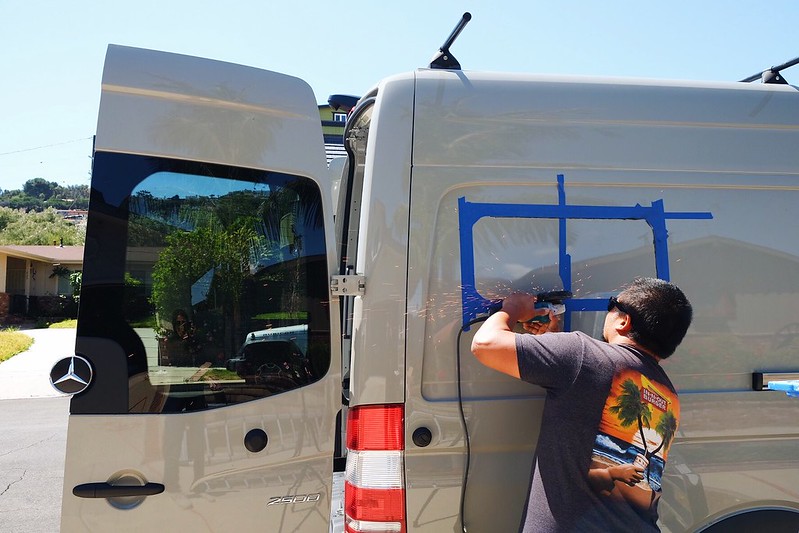
Up next? The window install. We ended up going with the Artic Tern Eurovision windows from Tern Overland. First step was to create a template.
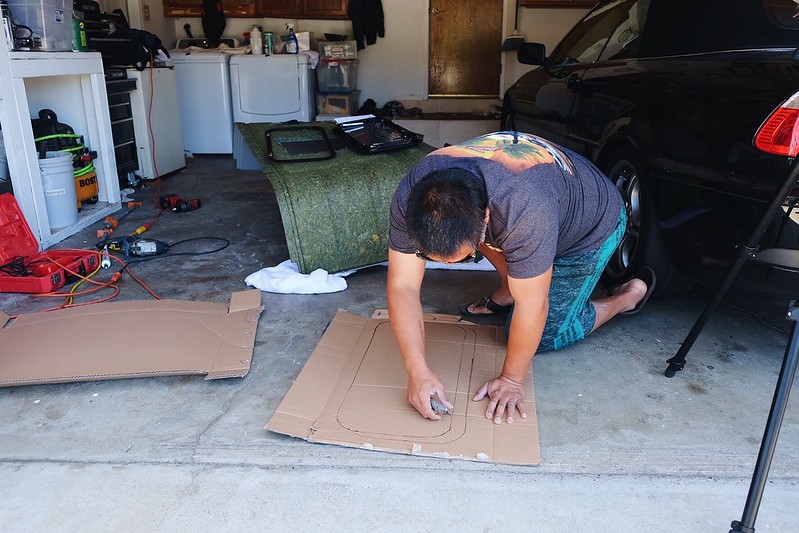
But the template wasn’t exact enough for us so we used painter’s tape instead. We measured a million times from every which way.
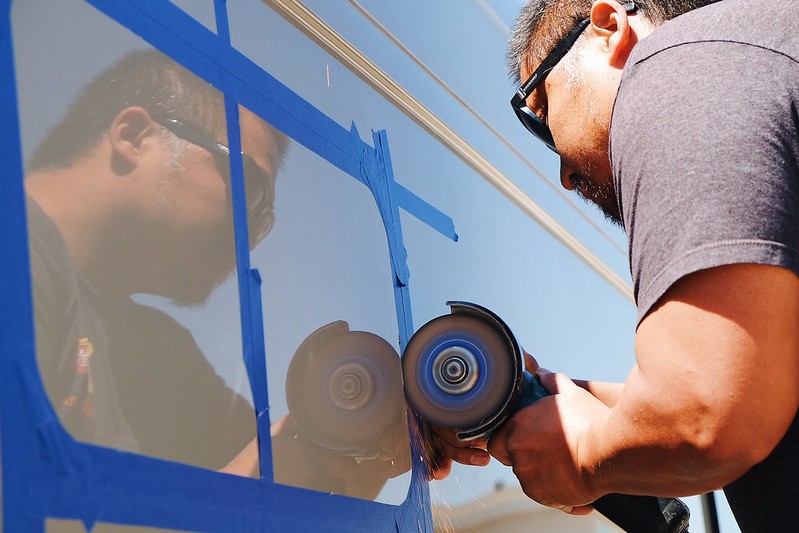
And then started cutting with a angle grinder. That first cut was scary. We were all nervous about it. Even my dad was nervous for us. Haha. Dan did an awesome job cutting the metal.
It took a bit to get use to how much pressure to apply but once we got it, cutting went a lot faster.
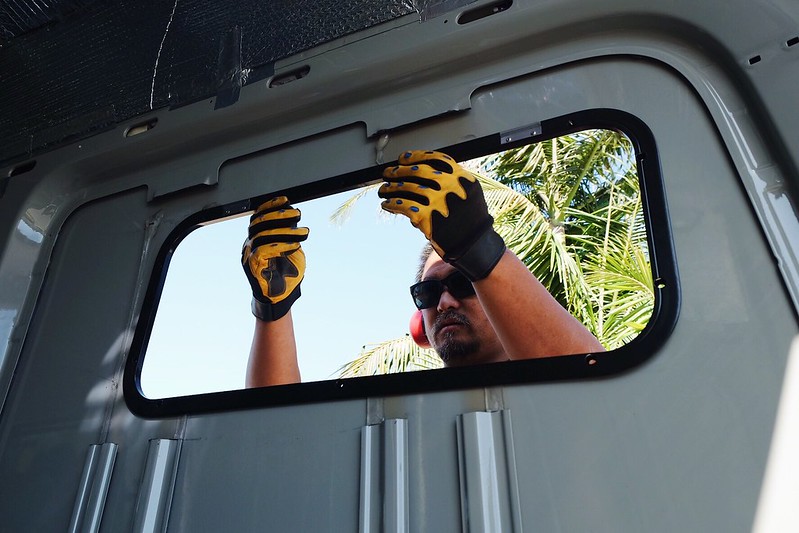
Here’s a peek at the first cut from the inside.
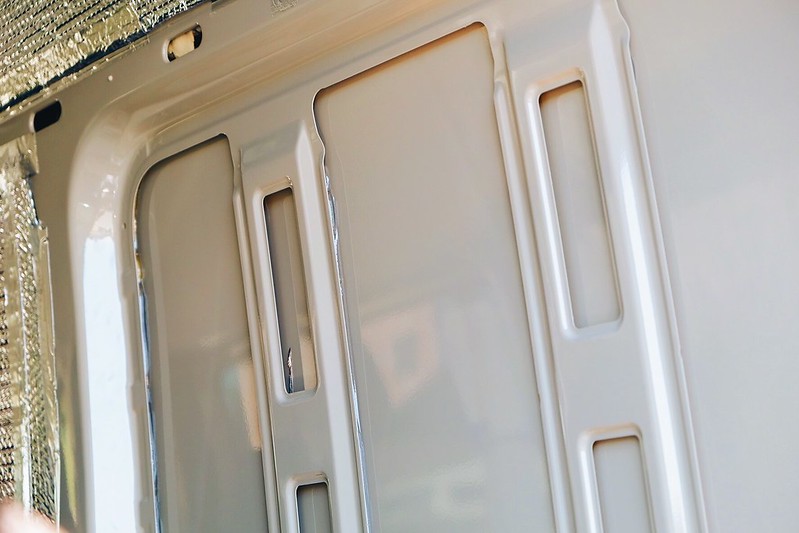
And a shot of it as he progressed. Those inter ribs needed to be cut separately. We cut them about 2 inches extra from above and below.
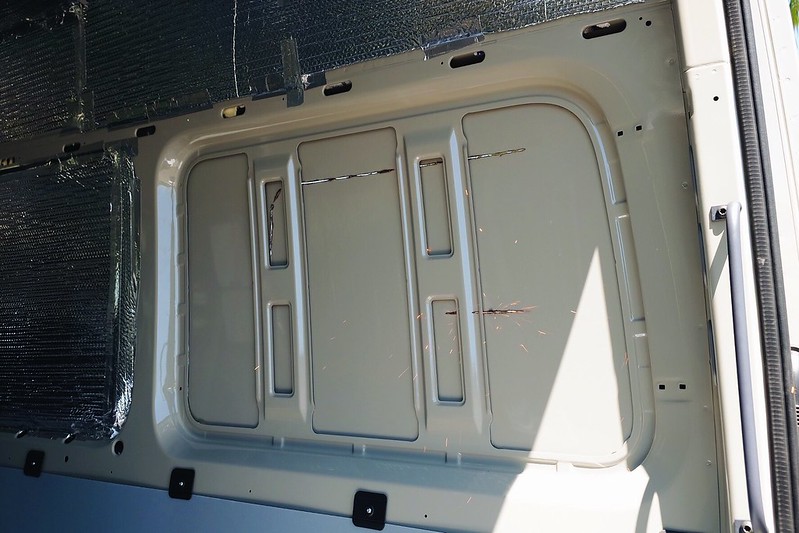
And almost out.
TADA!

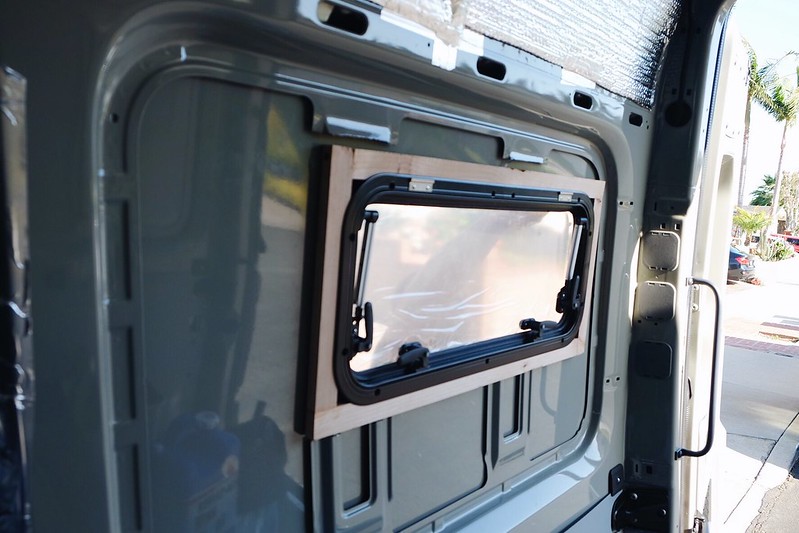
Fitting the interior window frame. Before we install, we used metal paint to hopefully prevent rust.
We also built an inner wooden frame since the windows we chose requires a thickness between 24-34mm.
We washed away metal shards and also did a water test. It did not go well. But we figured out our error. Our wooden frame/wall thickness was not in the 24-34mm range so the rubber seal wasn’t compressed to the required 50%.
So off to Home Depot we went AGAIN to buy a thin piece of wood to add to our frame.

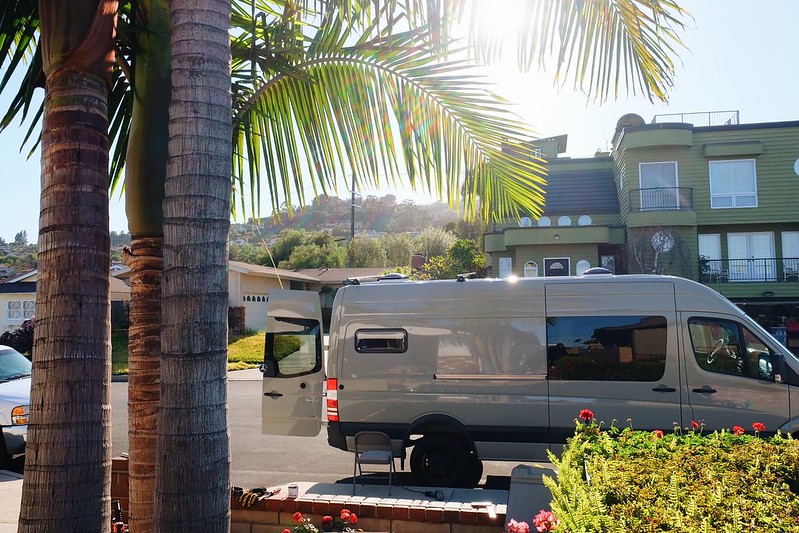
The sun set by the time we got back with more wood so we will deal with it in the morning. But these windows are looking pretty awesome.
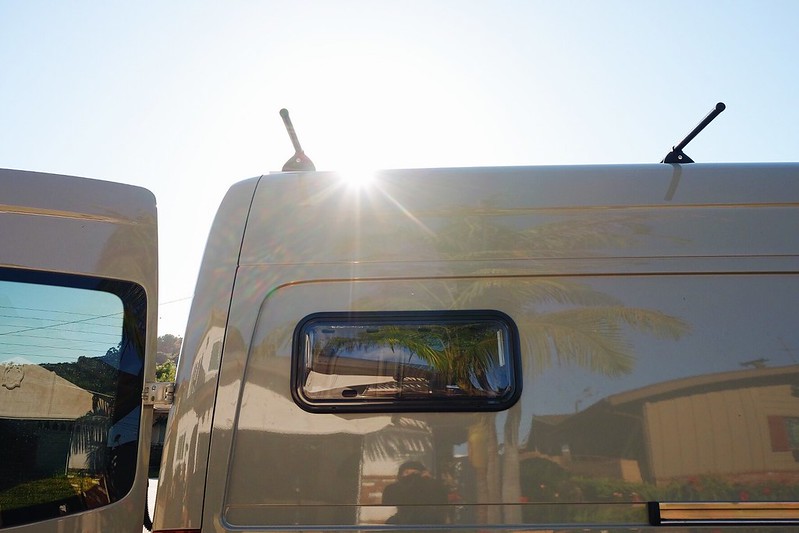
So glad we chose to install them. Tomorrow we will finish its install and start window #2.
Here’s the video to go along with the day 11 build. Enjoy!
As always, thanks for following along,
Marlene
P.S. Don’t forget to also follow us on Instagram and for extra content, we are also on Patreon 🙂
